How do I submit a Transfer Request Through Customer Portal?
Submitting a transfer request
After logging into your account, click the MY ACCOUNT link in the toolbar at the top of the screen.
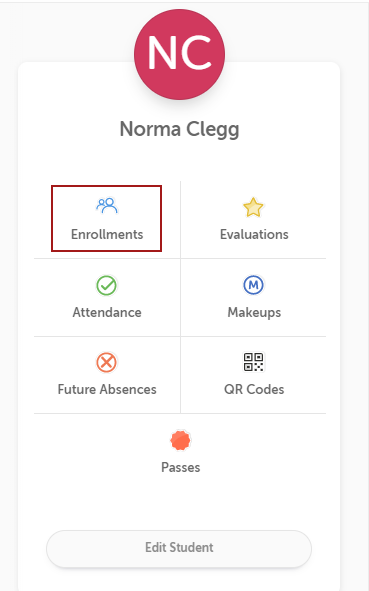
Click the “Enrollments” icon under the student for whom you wish to request a transfer.
NOTE: In the Mobile App, select ACCOUNT from the navigation toolbar at the bottom of the screen, select the student for whom you wish to create a future absence, then click “Enrollments.”
3. This will bring up a list of all current enrollments for the student.
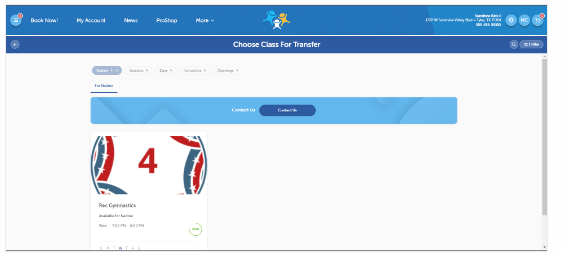
4. Click the TRANSFER ENROLLMENT button next to the class you wish to transfer FROM to launch the “Choose Class for Transfer” screen and initiate the transfer request.
NOTE: You cannot submit more than one transfer request from any existing enrollment. This means that if there is a Waitlist enrollment that was created via a previous transfer request, you will be prompted to either cancel the Waitlist request (if allowed), or contact the business to have this done for you.
5. Click on the class you wish to transfer INTO. This will launch the “Transfer Enrollment Request” window.
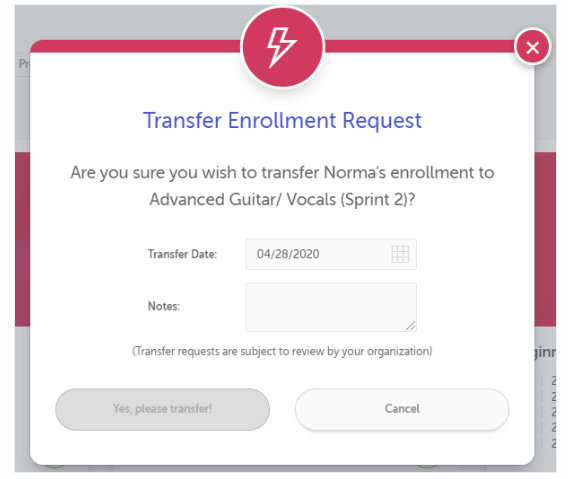
6. Enter the TRANSFER DATE (the date you wish to start the new class), along with any NOTES explaining why you are requesting the transfer.
7. Click “Yes, please transfer!” to submit the transfer request, or “Cancel” to close the window without submitting the request.